How to Draw a Gardenia
1
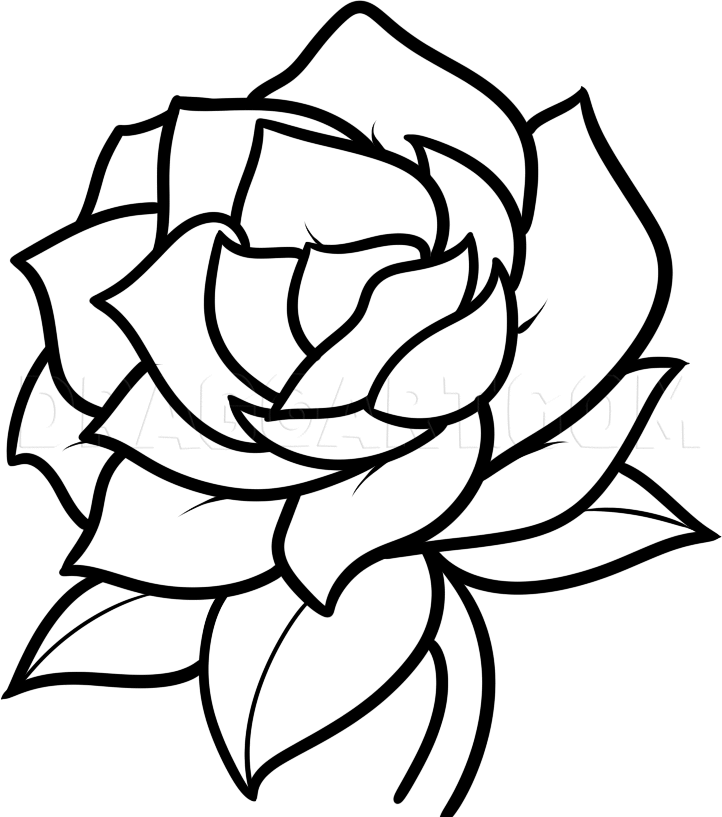
Now, because these flowers look so similar to roses in the shape and form, we'll begin with a basic circle. Draw the circle lightly on your paper, and try to refrain from using a dark graphite, as well as pressing too hard.
2
Then, starting from the center, we'll work on the petals that will support the symmetry of the opposite side. This is exactly the same steps I took drawing this flower. I would recommend drawing lightly before attempting to draw the thick lines prese
3
Then, we'll start sketching the opposite side, enabling us to work on the outer - larger petals with ease. I like working from the center and out, which is how it should be drawn to avoid from smudging, confusion, etc.
4
Working our way outwards, we'll sketch the largest petals first before moving onward to the smaller ones. I do this because having drawn the larger parts first, makes it easier to evaluate where to place the smaller details later.
5
To finish the top half of the rose, sketch the rest of the petals, which only frame the bottom. Take your time, and don't rush too because you're nearly finished. (Getting excited to finish leads to mishaps and slop)
6
Lastly, finish by drawing the leaves and the stem. I would recommend drawing the middle and largest leaf, to the outer ones framing beneath it. to complete the final product, sketch the stem and you should be done with your first draft!
Comments 0
Details
March 31, 2012
Description: I went shopping with my parents today and spotted the most beautiful flowers ever. For the first time, I've actually witnessed the presence of an orchid and gardenia at Home Depot. In this short and simple tutorial, I'll provide an easy break down that will show you 'how to draw a gardenia flower', step by step. Take your time, and remember to always reference from various sources of these flowers.


