How to Draw a Centaur For Kids
1
Make a circle for the head and back end of the centaur. When that is done draw a connecting body line.
2
Since this centaur is being drawn from the side, you will need to draw out the forehead, nose and jawline like you see here. You will then add the neck and hairline, as well as the chest, shoulder arm and hand.
3
Make a large friendly or shy looking eye, then make the strapless shirt or chest cover as well as detail her breasts.
4
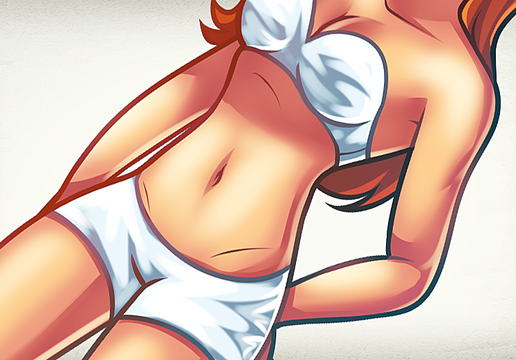
Finish drawing out the torso, then add a bellybutton. Next continue with the same lining as you draw out the front leg, stomach, back leg, and behind.
5
Start drawing out the centaur's hair which should be as long and as flowing as a horses mane. Add the strand details, then move along.
6
Lastly, draw in the rest of the horse legs as well as sketch out her big busy tail. Add the proper detailing then erase the lines made from mistakes and guides.
Comments 0
Details
June 8, 2012
Description: So it seems that I haven't submitted many mythical creatures tutorials for kids, so in this new lesson, I'll show you in the easiest steps possible on "how to draw a centaur for kids", step by step. Now, I had so much intense fun working on this vector styled artwork. I made sure that the shapes and curves were easily placed in order for even the beginner artist to accomplish. Get yourself the sufficient tools needed to prepare for the sketching process of this centaur. Take your time and make sure that you avoid from rushing. Anyways, I've gotta get moving on my other lessons. Hopefully this is fun enough for you!


