1
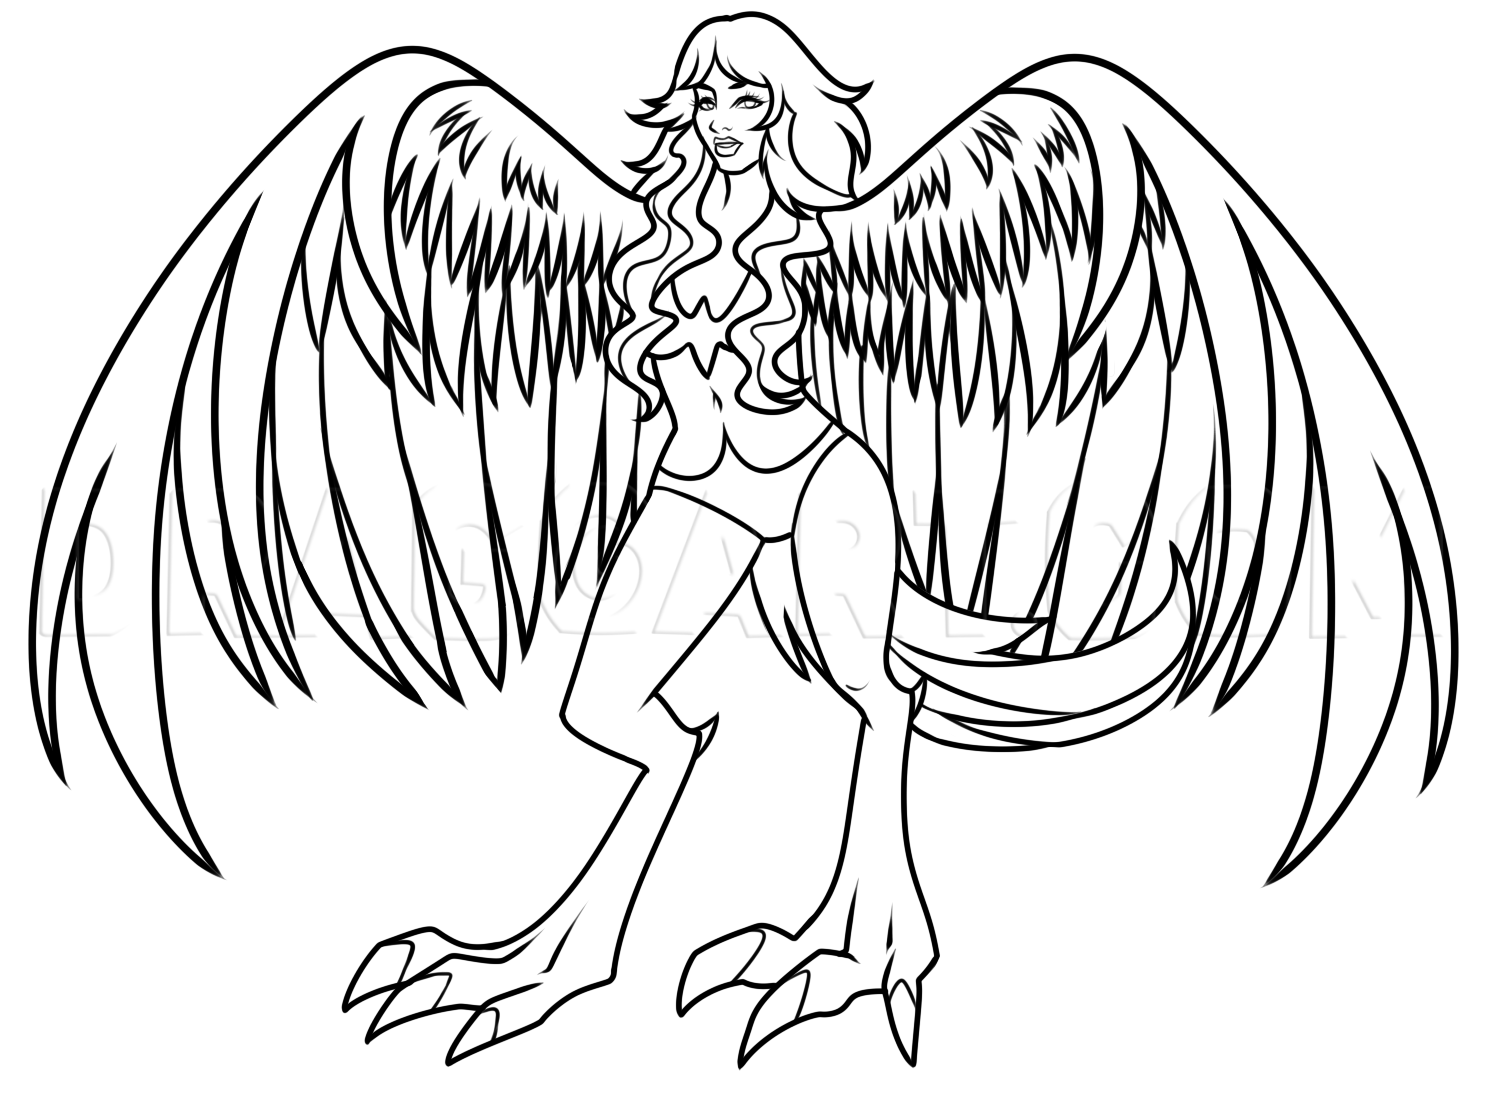
Let's begin by drawing the head and torso and then sketch in the guidelines for the face, legs and wings.
2
You will begin to draw out the shape of the Harpy's face and then sketch in the beginning of the hairstyle starting with the feathered bangs.
4
We will continue to work on the hairstyle which is long, wavy and layered. Add the detailing to the hair and then you can proceed to step five.
5
Let's work on the body. As you can see we will draw the torso, body, hips and legs. For the lower parts of the legs and feet, you will draw in bird like talons and then a full, feathery tail.
6
Here you will start drawing the wings. They should arch nicely and have the edges and tips fan out into a full wingspan.
7
Sketch in some feather layers on the inside of the wings like so, and then when you're done you can proceed to step eight.
8
Draw small feathers on the upper parts of the wings to finish off this Harpy. Erase the mistakes and guides then you're done here.
Comments 0
Details
December 10, 2015
Description: I have some really awesome lessons coming your way today and I will start with another mythological creature from lore. Since I only have one or two lessons on the harpy, I thought I would go ahead and make another tutorial on drawing a Harpy, step by step. I tried to replicate the one I did a long while ago. Even though the drawing was pretty bad with the rough lining, I did like the colors, clothing style and concept of the creature. This remake on my original harpy is going to be super fun to recreate. As you can see I went a little overboard on the bottom half of the legs. I did this because these beautiful creature are known for having bird like feet and wings. I hope you have fun, don't forget to let me know what you think.


