


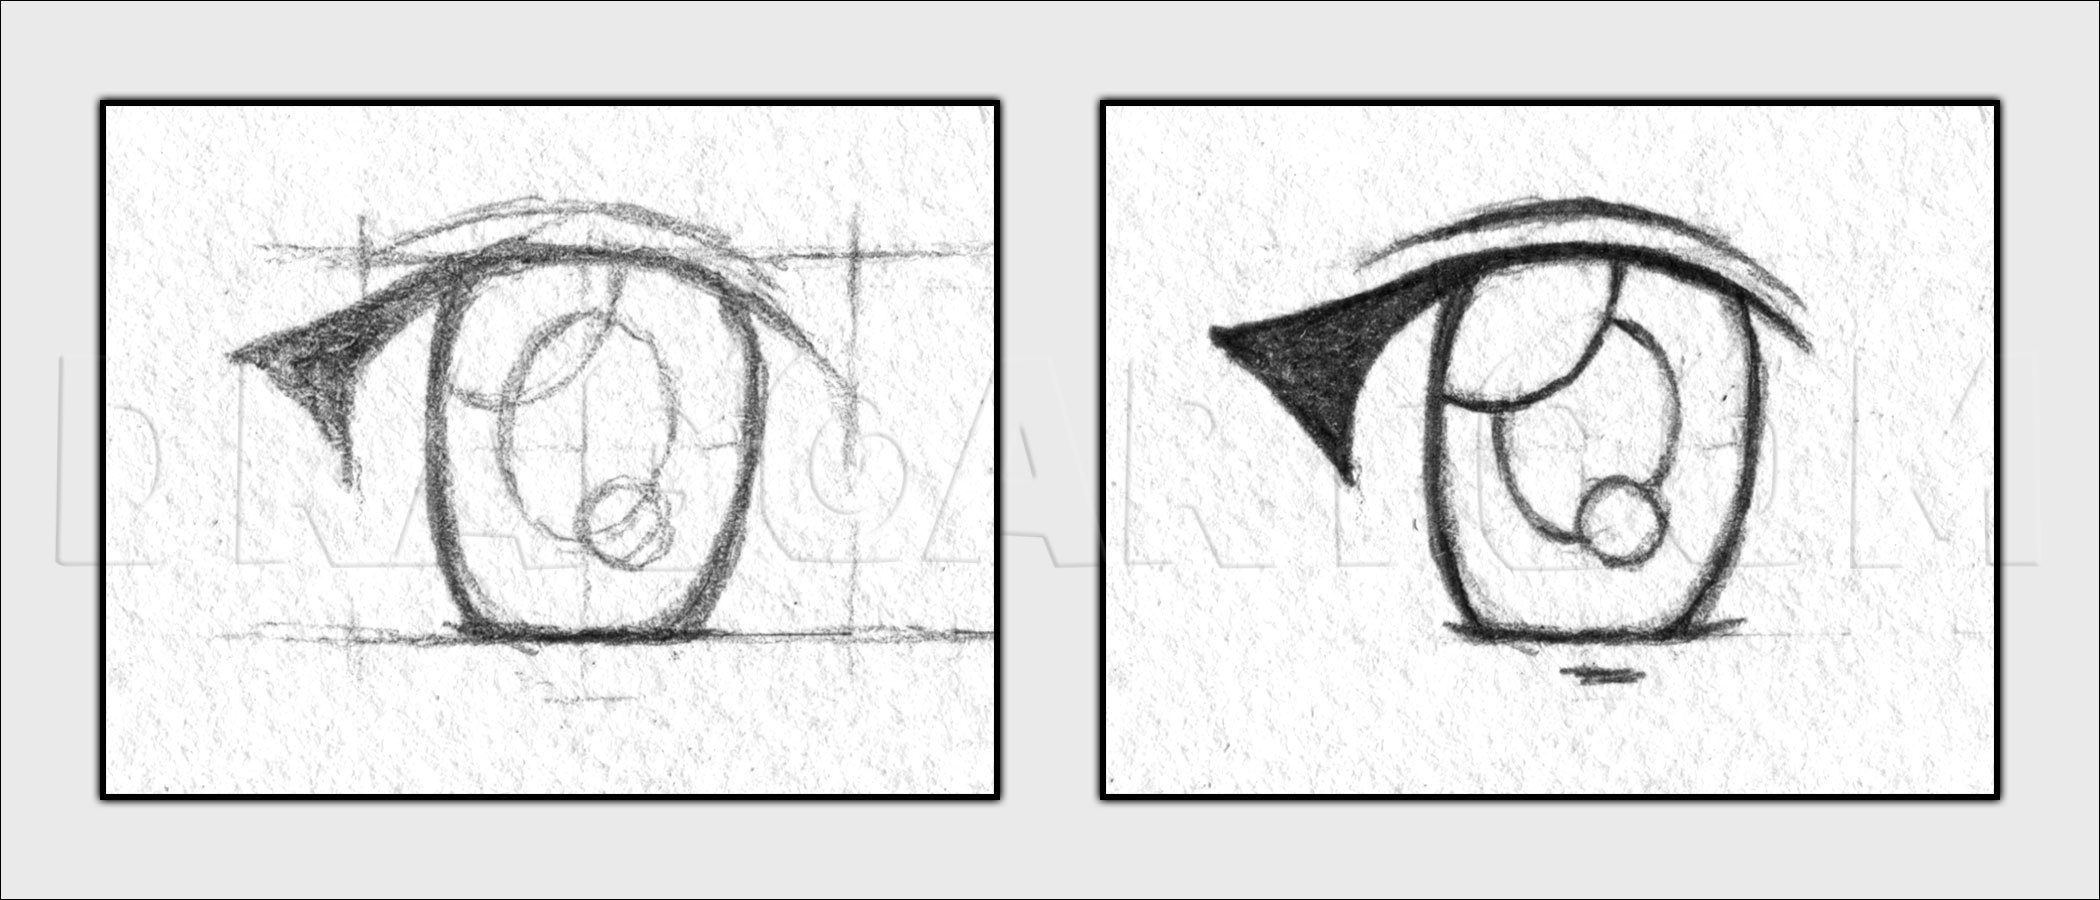
1
This first eye is serves as an introduction to the drawing and shading process used in the rest of this tutorial. Any paper/pencils can be used for these drawings. 2H/2B pencils and watercolor paper were used here. Start by lightly sketching in guide

2
Sketch in the pupil and the highlights in the eye. Define the outline of the iris a bit more. Add in the eyelashes and any creases above or below the eyelashes.
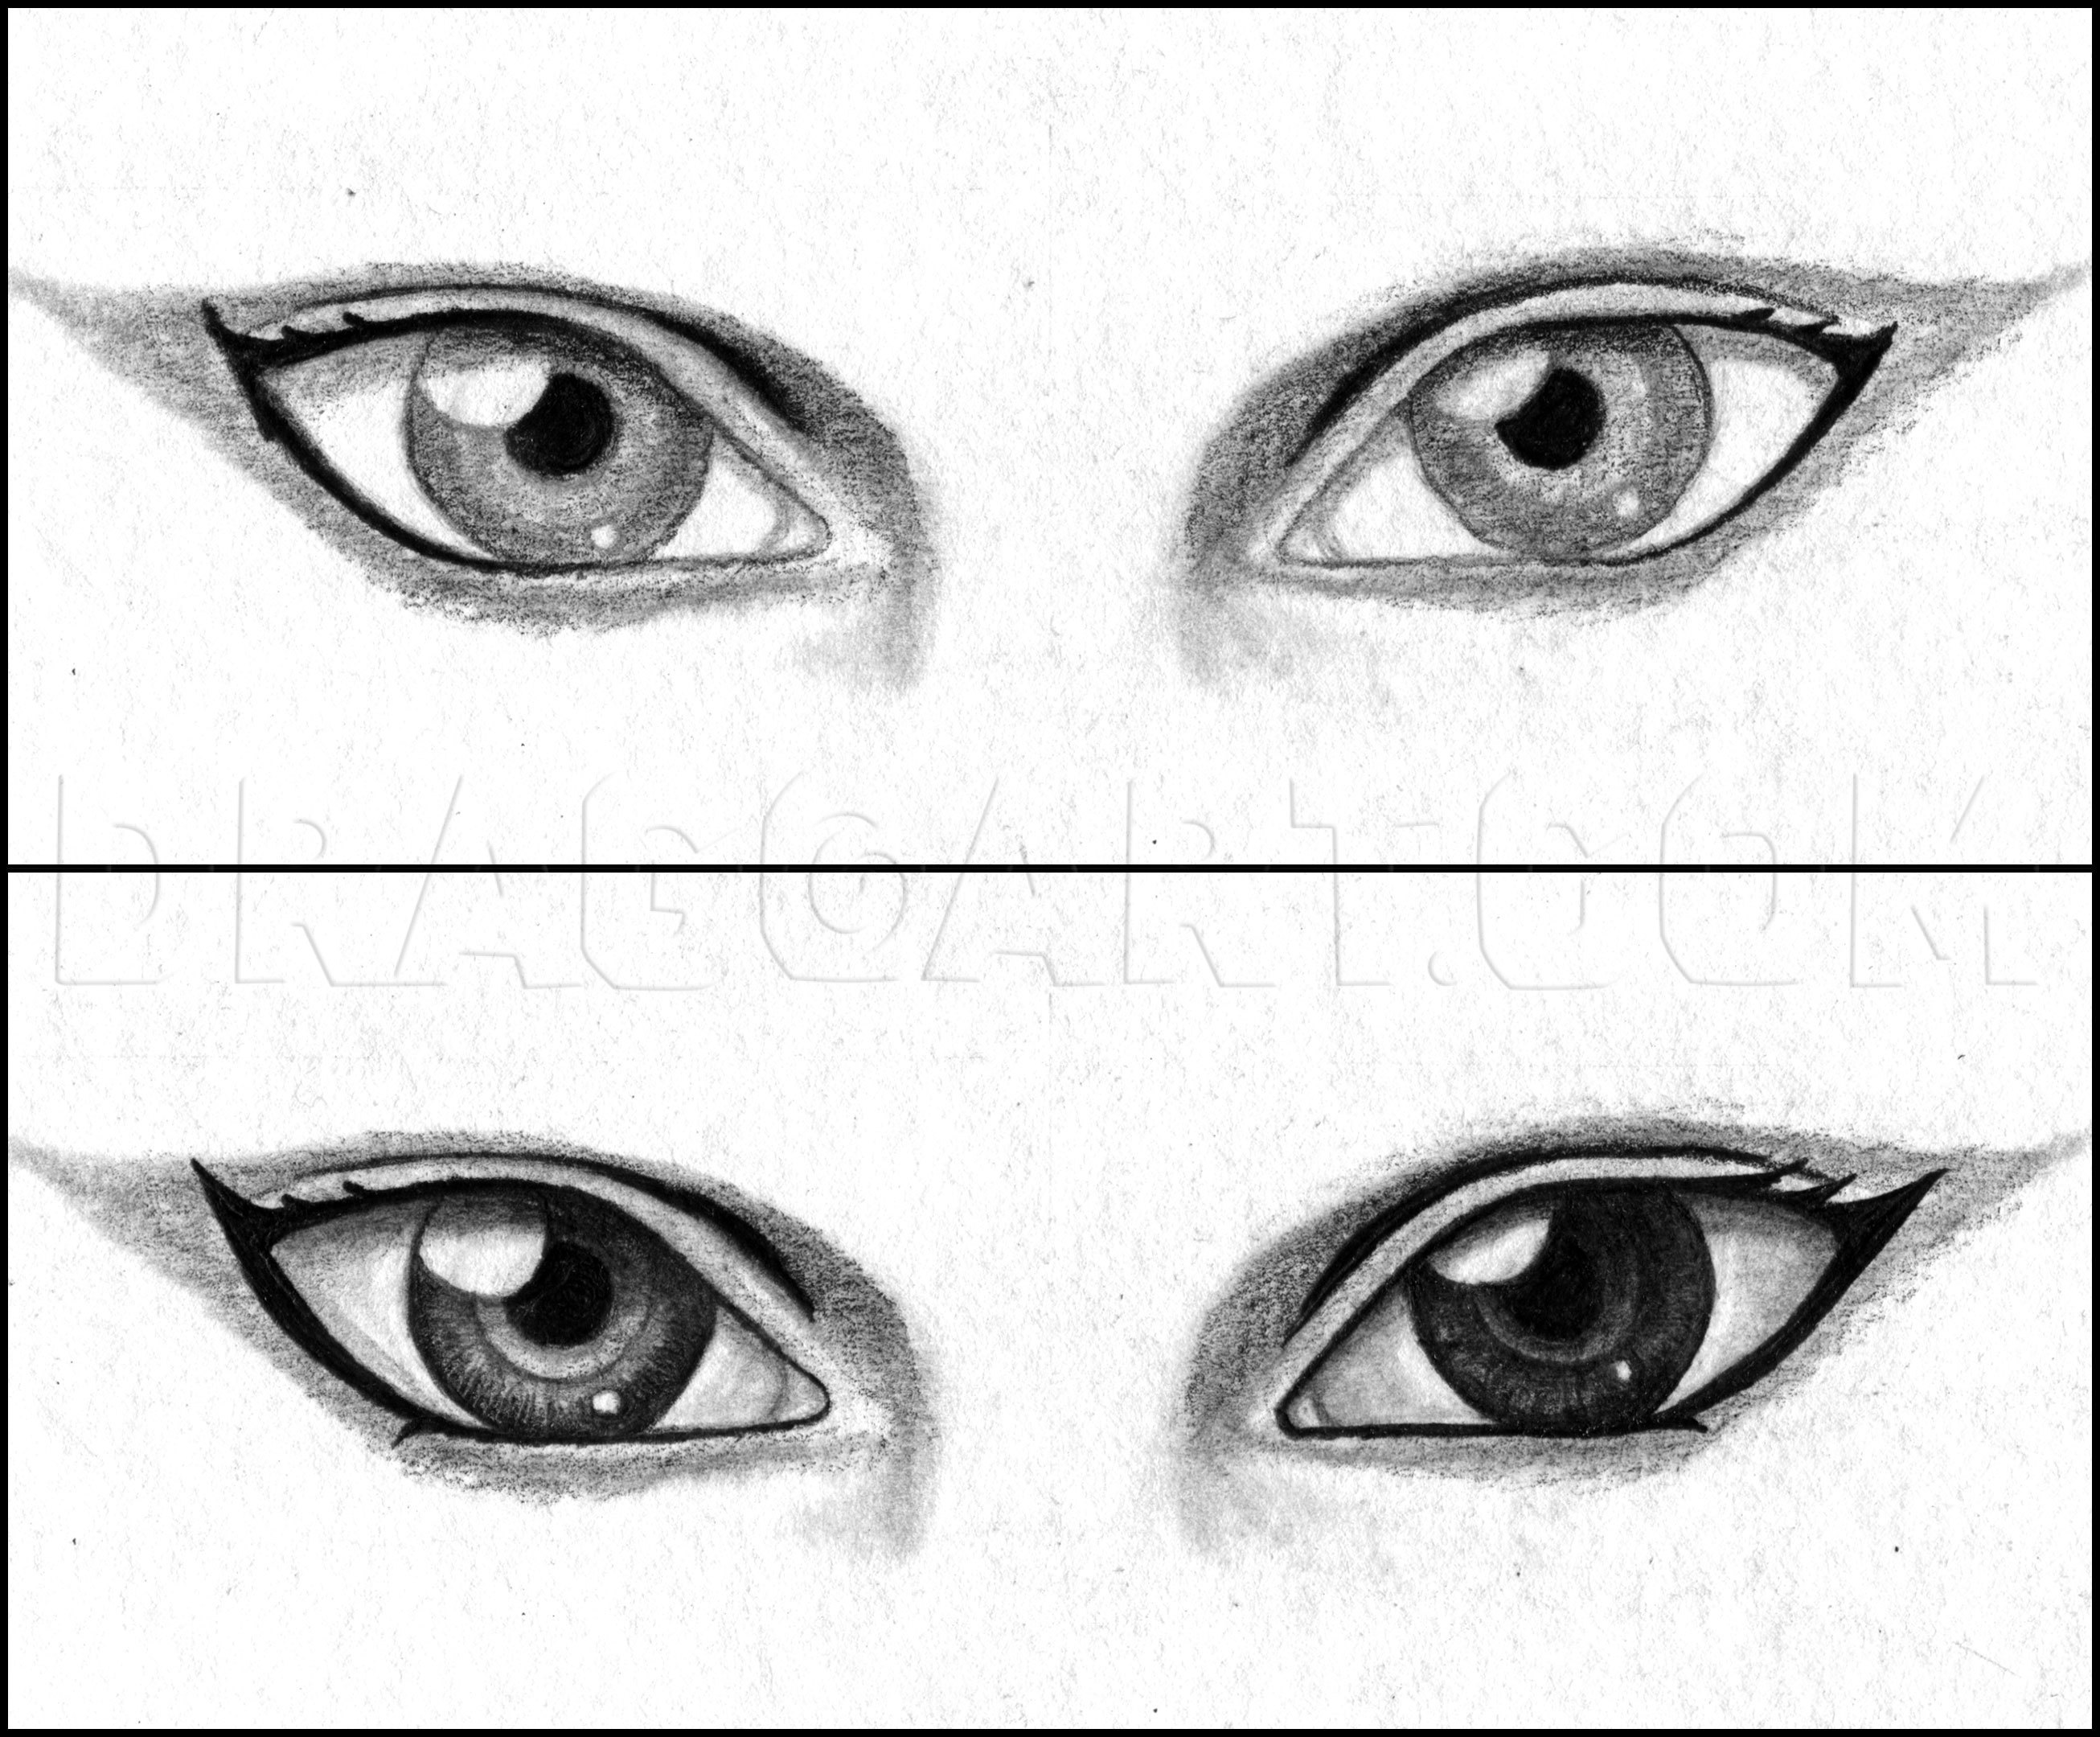
3
Erase any unneeded guidelines then define the lines. A 2H pencil was used here as well but just about any pencil will work.

4
Use a soft pencil (2B) to lightly shade in the pupil and iris.

5
Shade very lightly over the background.

6
Smooth out the shading using a blending stump or paper towel. How smooth the shading turns out mostly depends on how textured the paper is.

7
Finally Use a soft(2B) pencil to redefine the dark shading and a hard (2H) pencil to define the lighter shading. A kneaded eraser can be used to add highlights and lighten any shading that is too dark.

8
Use the process described in the previous steps for the rest of the eyes in this tutorial. The following eyes were drawn with 2H and 2B pencils on Bristol plate paper. Use a 2H pencil to sketch in the guidelines, sketch in details over the guideline

9
Next use a 2B pencil to roughly shade in the drawing, use a blending stump to blend in the shading, and then clean up the shading. Use a 2B pencil of the dark lines and shading and a 2H pencil on the rest. Use a kneaded eraser to clean up highlights.
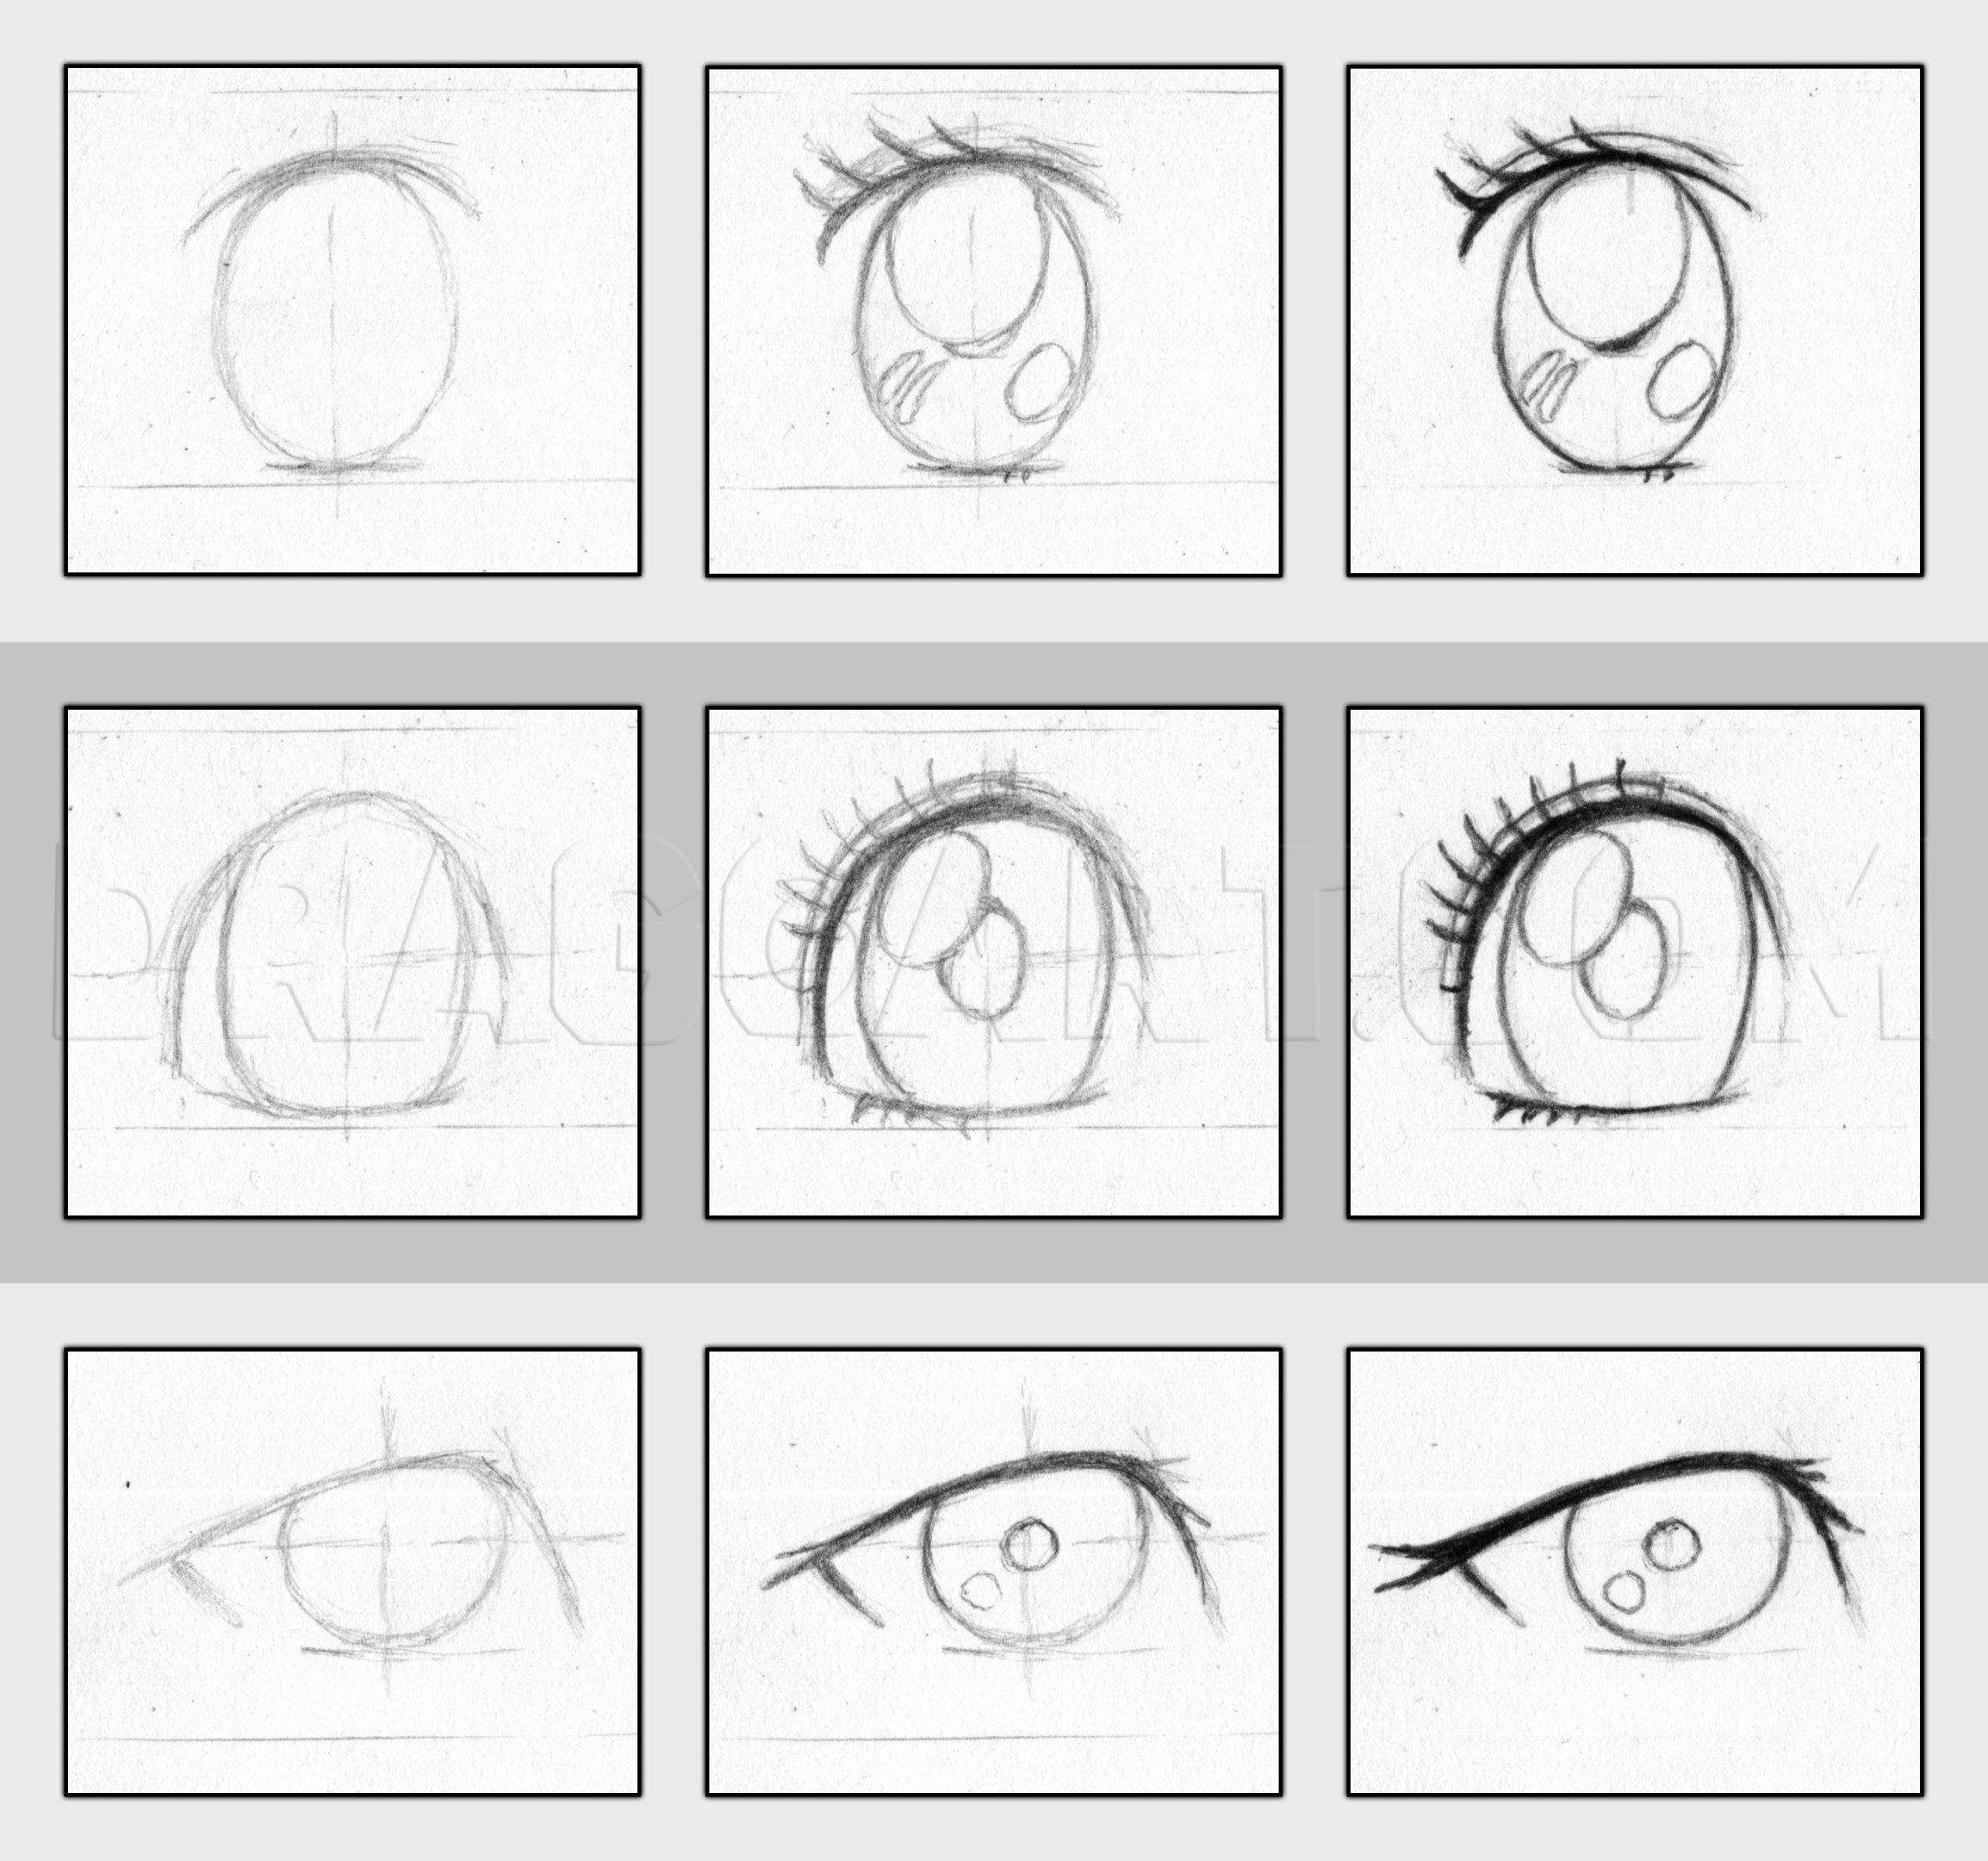
10
Sketch and define this batch using the same techniques and materials.

11
Shade in and define the eyes.

12
Draw the eyes once more with the same techniques.

13
Shade, blend and define the eyes.

14
All of the previous eyes were inspired by existing manga and anime styles, these final eyes are drawn in my own personal way based off of anime/manga and realism. This was drawn using 4H, F and 4B graphite on watercolor paper. Start off with basic gu

15
Erase unnecessary guidelines and define the lines some more. 4H lines will appear a bit lighter than 2H lines but have the advantage of being thinner and allowing a bit more detail to be added to the drawing.

16
Use a 4B pencil to roughly shade in the drawing. Start with the pupil and iris and work you way outwards.

17
Smooth out the shading with a blending stump/paper towel.
18
Use a 2B pencil to build up on the dark shading. Use an eraser to clean up highlights as needed.
19
Start defining the shading. Use a 4B pencil on the dark shading and a 4H pencil on the lighter shading. Use an F pencil as needed to bridge the gap and define the dark lines. Start with the pupil and iris and work outwards.

20
Finish up the drawing by adding final details and shading. Lightly blend over the white space with a paper towel to make it more interesting.
Comments 0
Details
September 25, 2014
Description: How to draw and shade anime eyes. Graphite used 2H/2B and 4H/F/4B for the final drawing. Paper used: Coldpress watercolor and Bristol plate.


