


1
Start off by picking your supplies. I used a 2B general shading, 8B for initial sketching and dark shading, and 2H for light shading/details. I also used some woodless graphite to shade larger areas. This drawing was created on mixed media paper.

2
Start by sketching in rough shape to represent the panda's head and body. Use whichever pencil works for you just be sure to sketch very lightly. I used an 8B pencil for my sketch.

3
Lightly and roughly sketch in the panda's features. Don't worry about getting too detailed just yet.

4
Erase away your guidelines until you are left with a clean rough sketch.

5
Go over your outlines with bolder lines. I used a 2B pencil for this. You should be using the side of you pencil lead to make your lines dark without making them permanent.

6
For this step I used some 8B graphite to roughly shade in the background. This is where having woodless graphite comes in handy.

7
Blend over your drawing using some paper towel or tissue. Try to use a circular motion when blending.

8
Use an 8B pencil to roughly shade in the eyes/eye spots. Make this first layer of shading light. You can later add more layers to darken your shading.

9
Refine your lines and shading with 2B graphite. You can go over your 2B shading with 8B to make it even darker.

10
Use an eraser to lightly add some basic fur patterns to the top half of the head. Sharpenable erasers work very well for this.

11
Use an 8B pencil to roughly shade in the ears and nose.

12
Refine your ear and nose shading with a 2B pencil. Again, go over your darkest shading with an 8B pencil to make it even darker.

13
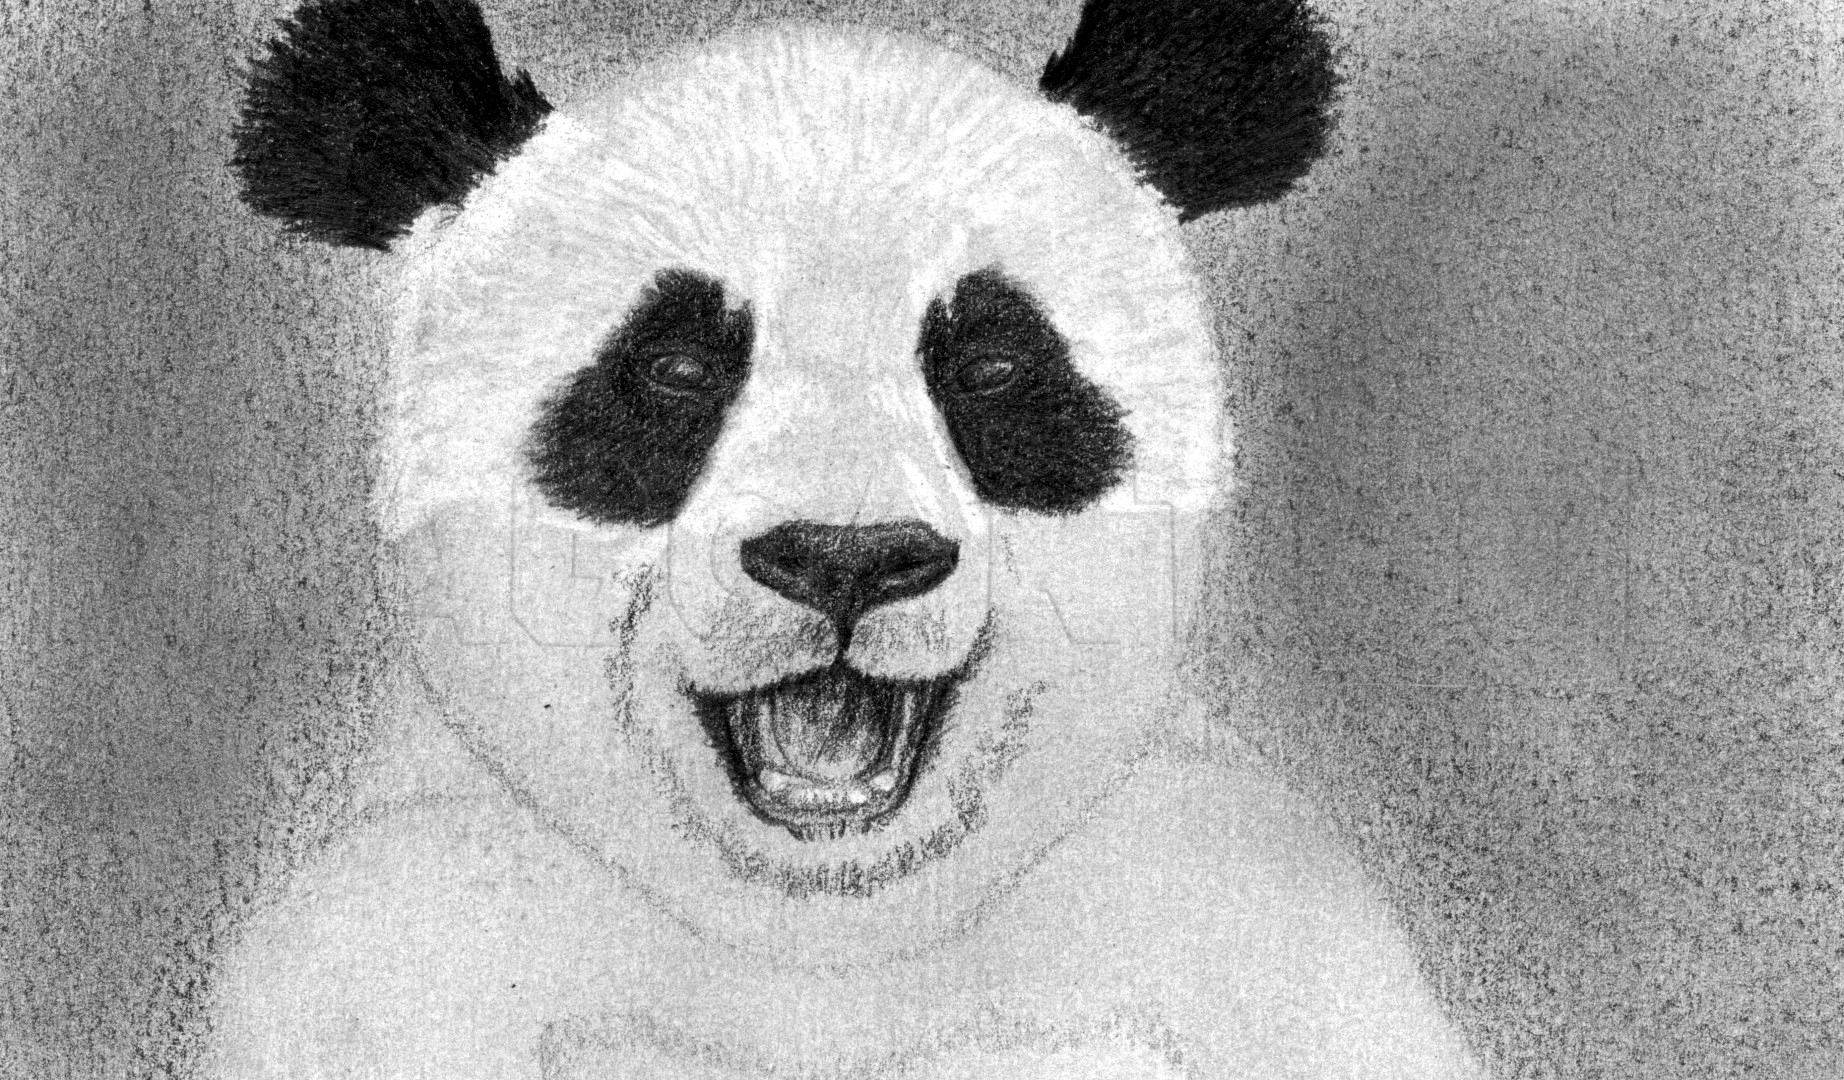
Use an 8B pencil to roughly shade in the mouth and the area around it. Use an eraser to roughly add the teeth.
14
Refine the mouth as much as you can with a 2B pencil. Don't worry about the small details just yet, just refine you shading as much as you can.

15
Use an eraser to lightly sketch in the rest of the fur on the panda's head, neck, and the bit on its chest.

16
Roughly shade in the body fur using 8B graphite. Be sure to shade lightly and gradually add layers to make you shading darker.

17
use a 2B pencil to build up the body fur a bit more. Again, don't worry about getting your shading perfect just yet.

18
For this step I used a blending stump to smooth out the background shading even more.

19
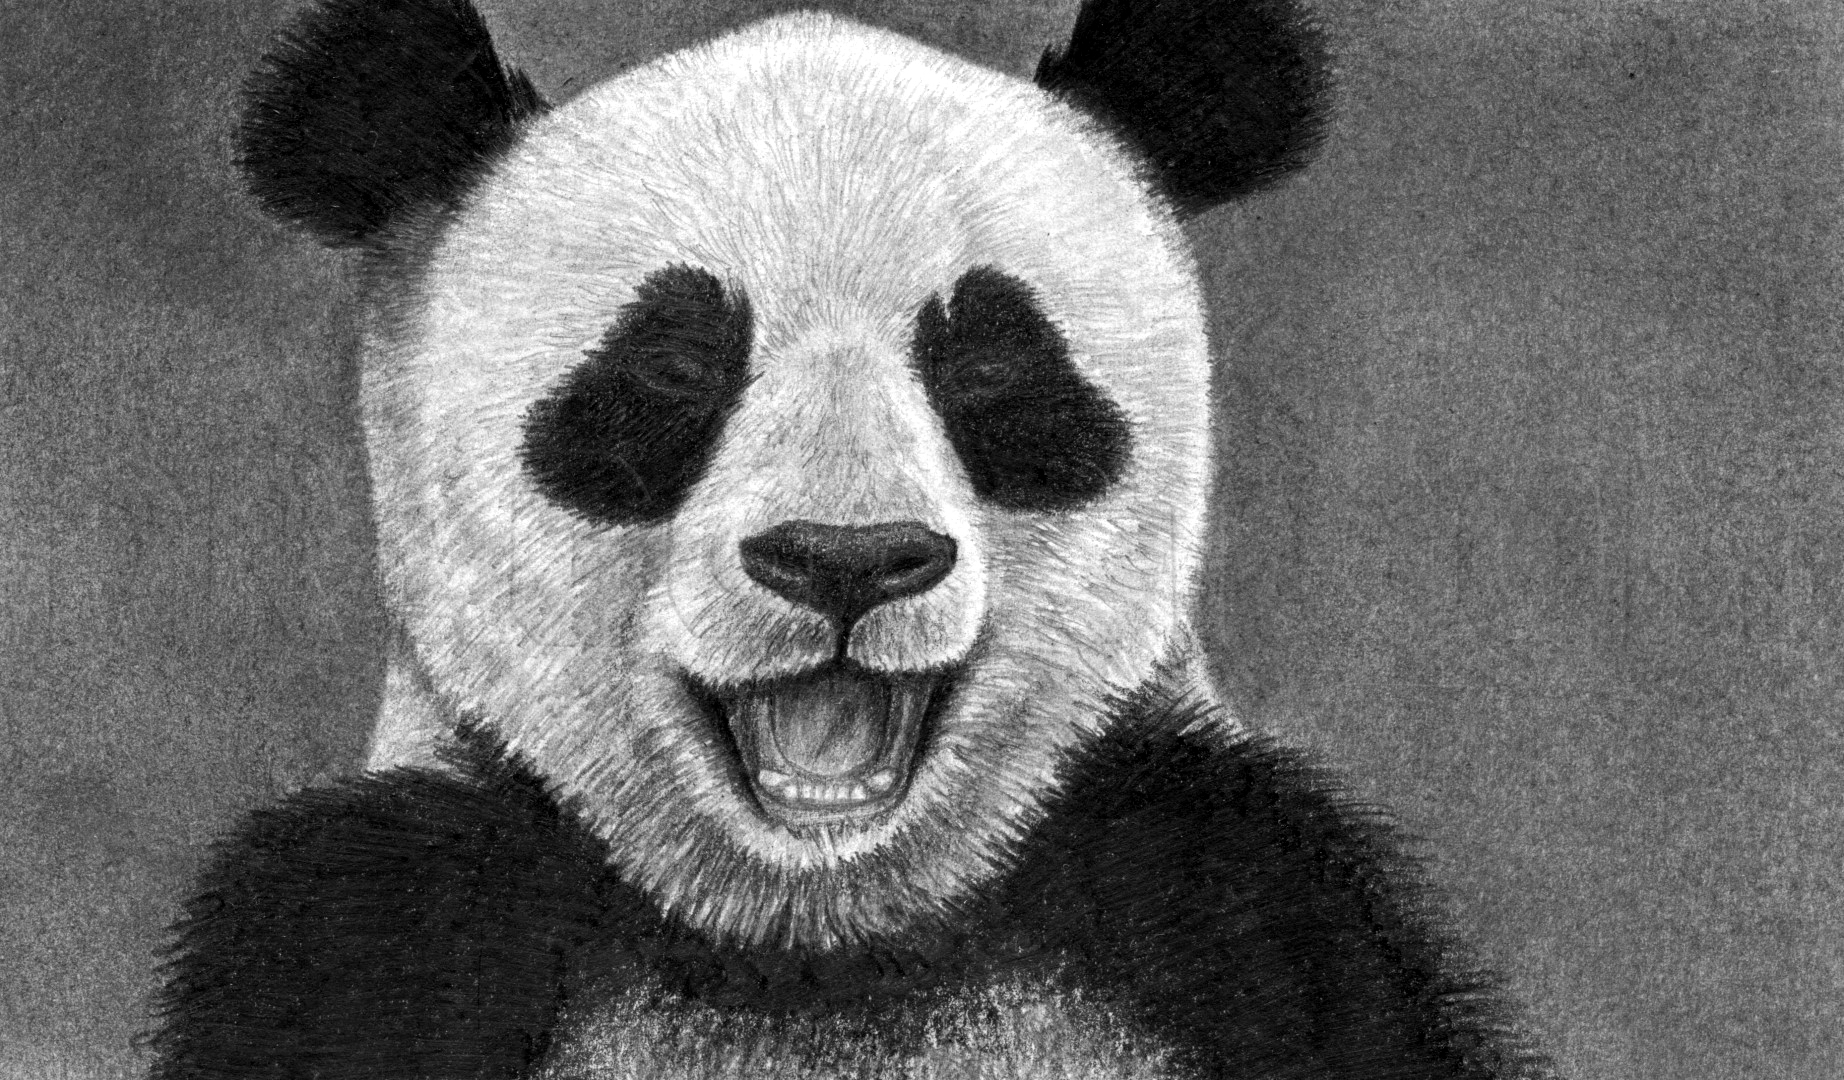
Start adding finishing touches from top to bottom starting with the ears then making your way down to the eyes. Go over your dark outlines with a 2B pencil and add layers with an 8B pencil to make your shading darker. Use a 2H pencil to start adding

20
Use a 2H pencil to add final details to the mouth, nose, and the rest of the light fur. Use 2B and 8B pencils to finalize the dark nose and mouth shading.
21
Go over the body fur with 2B and 8B graphite to make it even darker. Use 2B graphite to also darken the light fur beneath the panda's mouth.

22
Finish up your drawing by giving your details one final pass. You can also lightly blend over you fur to make it a bit smoother. I used a 2B pencil on the background to smooth it out a bit more and an 8B pencil to darken the corners of the drawing.
Comments 0
Details
October 7, 2013
Description: Hey everyone, I hope you like smiling panda bears! I thought I would celebrate my third year of tutorial making with an homage to my very first tutorial. Thanks to everyone who has commented, favorited, and followed my tutorials over the years and a big thanks to Dawn for getting me started! Here's looking forward to hundreds (if not thousands) more tutorials to come!


