How to Draw a Realistic Baby
4
Draw in the lines representing a. the eyebrows, b. the eyes, c. bottom of her nose, and d. her mouth.
6
These lines and curves will help you with placements of the blanket, her cheeks and shoulders. Don't forget her irises, pupils, eyelids, and ear.
7
This is fantastic. This realistic baby is taking on personality. Feather in her long lashes. Try drawing in the curved shapes representing her arm, forearm, and upper chest. Remember to get her cute little pudgy hand and fingers that she is resting h
8
It's time for the hair challenge. Draw in the lines as they appear. Since a baby's hair is very fine, you will not need as many hair strands.
9
As you can see there are no new lines. At this point you can erase the guidelines. If you would like to only draw this picture, you can stop at the next step. But if you would like to learn how to shade, highlight, make reflective light and more grea
10
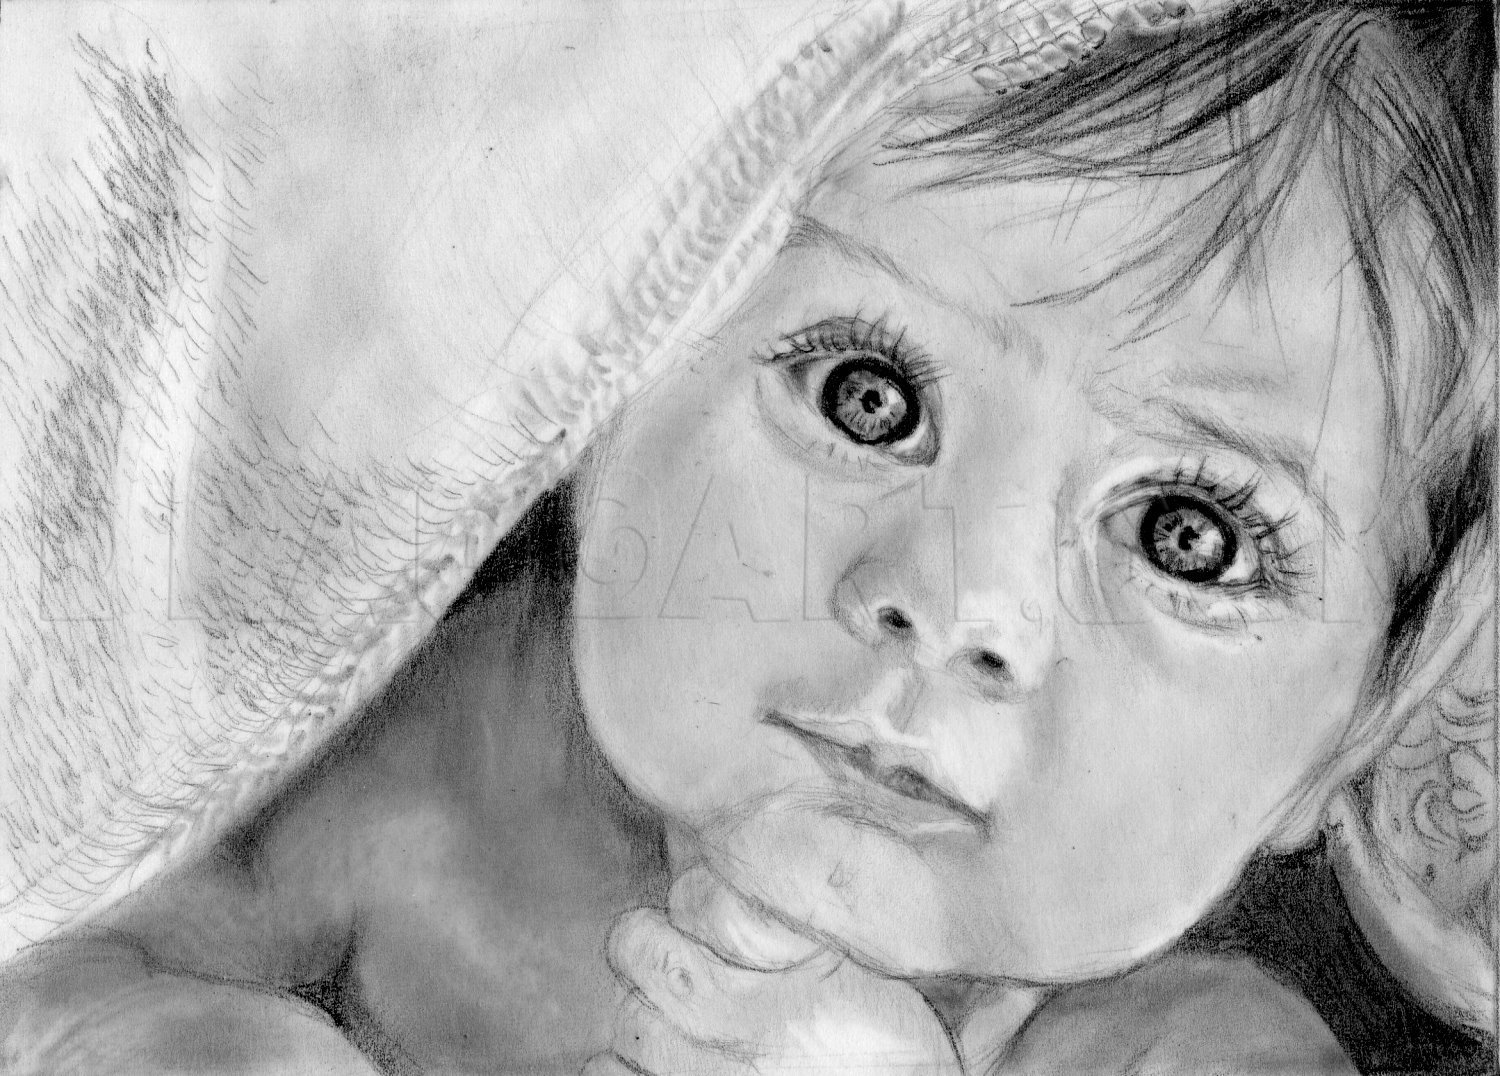
Your picture might appear like this. Enjoy the moment and know that you have created something of your own hands... and it is beautiful. Isn't she sweet! Juicy cheeks, big beautiful eyes, and beautiful wisps of fine hair. The next steps will show lot
11
This sketched outline looks different because these are the guidelines I used to help with her features and accuracy. If you are a seasoned artist and don't need the other guidelines, you can use this. SMALL TIP: I took my T-square and triangle to ma
12
Here are the pencils and blending tools I used. You can refer to this picture when I talk about "The Tools to Use" in the next step & Step 16.
14
Have mercy, those eyes get me every time! *giggle* Okay, sketch in lines or small circles with a 0.7mm 2B lead mechanical pencil. You can use a 0.5mm 2H mech pencil for the lines on the blanket that is over her head. Darken those luscious irises and
15
Blend the blanket with a blending stump. Notice how the lines disappeared. Now you can blend with a tissue on her face. Detail with a stump her cheek and shadowed areas.
16
Take a look at more tools to use for extra detail to bring out that realistic look. Notice the directional arrows on the blanket? That is important. When you're drawing, blending or highlighting, you need to watch your reference pic closely to see wh
17
Overhand is great for writing and details. Underhand shading covers lots of areas. The shading from dark to light is a great exercise of control.
20
Babies are wonderful. At home we love to -- 1. dress them in soft knit clothing while they suck their thumbs (fingers are stubby and nose is pudgy), 2. watch them grow and poke out their tongues (eyes are large and start at 1/2 point down the head),
23
Add more line details in the blanket and keep darkening other areas with the 9B pencil as mentioned in Tools to Use-Details in Step 16.
Comments 0
Details
August 25, 2011
Description: Did you screech to a stop and gaze into this baby's eyes, feeling like a driver that caught a deer in the vehicle's headlights? I did when I saw the reference picture of this delightful child. Drawing this baby was pure fun and a learning experience. I've never done the tiny fabrics on a blanket like this before. So you and I are going to venture down this road and plunge into "How to Draw a Realistic Baby." I hope you get that wonderful feeling I got from drawing her big beautiful eyes, wisps of fine hair, juicy chewable cheeks and a Downy-soft blanket. *Mmmm...snuggle*


