


1
The first step is pretty simple all you have to do is draw a triangle shape for the board that the bell is screwed onto. Next draw a long vertical line for the height of the bell and then draw an egg shaped circle in the middle. You will draw a serie

2
Use the circle shape you drew to draw out the shape of the bell as you see here. When that is done, sketch out the crocked line for the crack and then sketch out the end of the bell's clapper.

3
Here you will start sketching out the wooden plank that the bell is attached to. Next draw each individual nut and bolt that you see on the top of the plank. Next sketch in the detailing lines that are grooved into the structure of the bell. There is

4
This is your last drawing step and as you can see you have to tale your time with the completion of the Liberty Bell. Sketch out all the defining lines in the plank of wood so that it looks aged and worn. Next draw the two big bolts that hold the bel
5
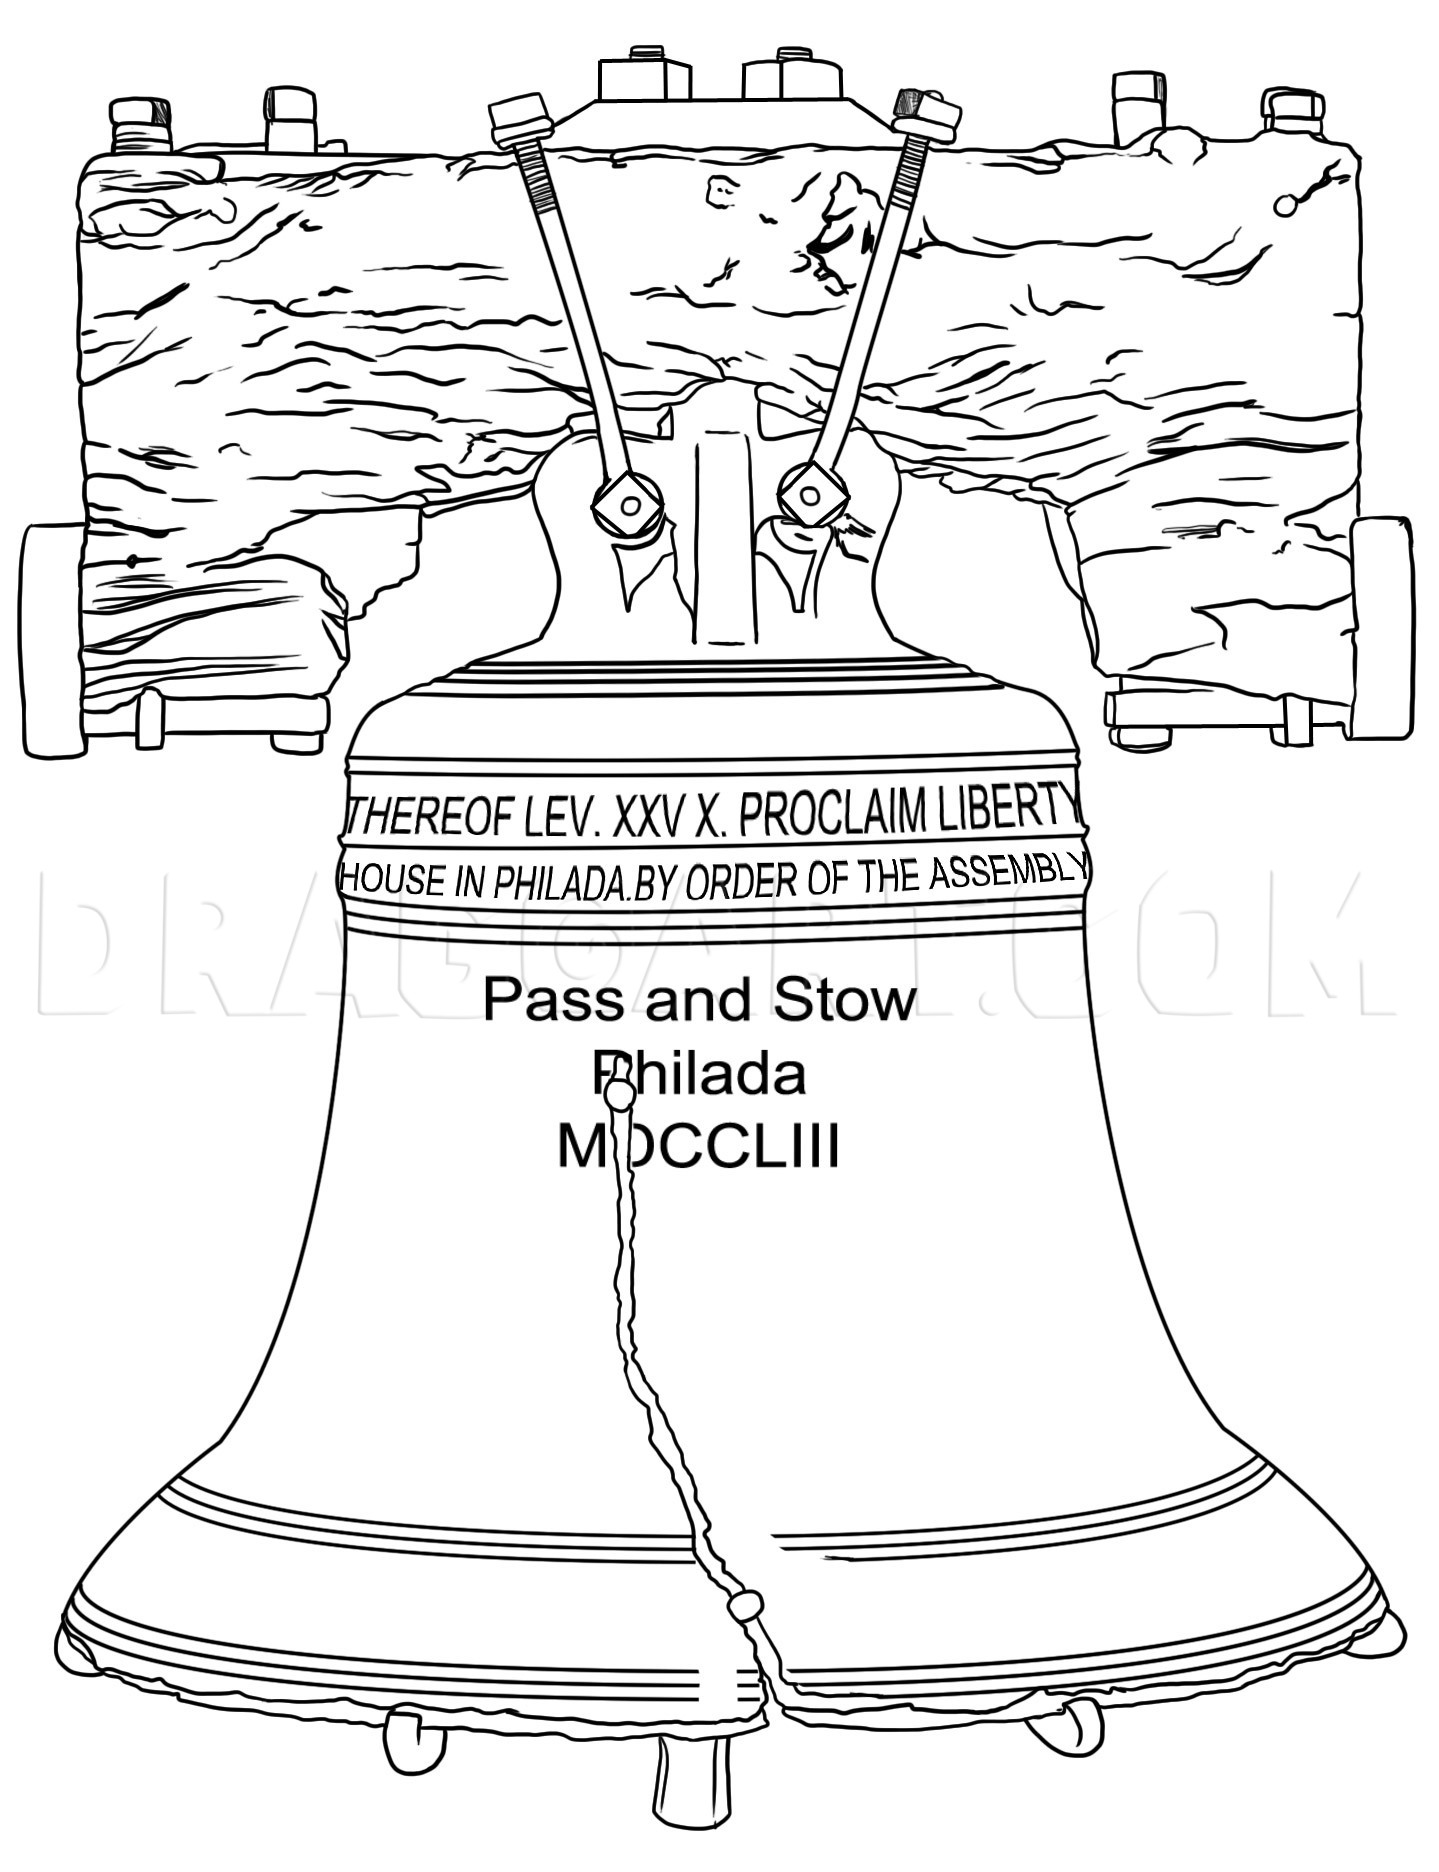
After all the guidelines and shapes have been erased you should end up with a drawing that looks like the one you see here. Color in your bell or leave it be. I hope you guys enjoyed this tutorial on "how to draw the liberty bell step by step"
Comments 0
Details
July 19, 2009
Description: Lets shy away from cartoon characters for a moment and talk about something that actually matters. I wanted to upload this next tutorial before July fourth but I got extremely side tracked. My freedom is very important to me and my family, and without the freedom I have left, I don’t think I would want to be an American. The tutorial that I will submit for you today is going to be on “how to draw the Liberty Bell" step by step. For those of you that have no idea on what the liberty bell is and or why was it made I will tell you right now. The bell was ordered by the Pennsylvania Assembly back in 1751 to initiate the 50th anniversary of William Penn’s Charter of Privileges in 1701. When the bell was made, inscriptions were carved into the bells metal surface which talks about the rights and freedoms which reads “"Proclaim Liberty throughout all the land unto all the inhabitants thereof”. The passage is from a verse in the bible from the book of Leviticus. Another reason for the bell is because Americans wanted a symbol of their freedoms. The American flag was already in play but that wasn’t enough. The iconic symbolism of the liberty bell was also used to represent the freedoms that was granted to the slaves who were at that time enslaved. The bells specs are as follows; the location of the liberty bell is at Liberty Bell Center in Philadelphia Pennsylvania. The bell was originally cast by the Whitechapel Bell Foundry in 1752, it was then recast by Pass & Stow of Philadelphia twice in the year 1753. The bell is owned by the City of Philadelphia. The Liberty Bell used to weigh approximately two thousand eighty pounds. The measurements are also as follows; circumference around the lip is twelve feet, circumference around the crown is seven feet six inches, height from lip to crown is three feet, height over the crown is two feet three inches, thickness at lip is three inches, thickness at crown is one and one forth inches, weight was originally two thousand eighty pounds, and it’s weight today is two thousand fifty five pounds. The reason why the bell lost some weight is because twenty five pounds was maliciously chiseled off the inside lip. The tutorial that you will learn from was carefully sketched out to replicate the real thing and I think it came out awesome. You will see just how easy it is to learn "how to draw the Liberty Bell step by step". Have fun with this tutorial, and I will meet you guys back here again in a few. Peace out and happy drawing.


