1
Before we start working on the Freedom Tower, you must first poses an understanding of perspective. Let's start at the very beginning (if you already have a good grasp of how to use perspective to draw buildings, you can skip ahead to step 10). Let'
2
Next, draw a few squares floating in various places on the page, but not too close the vanishing point.
3
Draw lines from the vanishing point to the closest corners of each square (red lines). Then close off your cubes by drawing the back line of the cubes (green line), but be sure to stay within the red lines leading to the vanishing point.
4
Erase your unneeded guide lines leading back to the vanishing point and darken the lines of the cubes. You now have a cube created in one point perspective.
5
Now let's work on two point perspective. After drawing your horizon line, place two different vanishing points on opposite sides of the horizon line. This time, instead of drawing squares, just draw a few vertical lines floating on the page in variou
6
From the tops and bottoms of each line (cube edges), draw lines leading to both vanishing points on the page. It's ok if some of your lines run through each other because they can be erased later.
7
Now close off the sides of your cube in the same manner as step 3 above. But we are not done, since we still need to draw one more side of each cube.
8
This is where it gets a tad tricky. To finish off the cubes, we have to draw the third side on all necessary cubes. For any cube floating above the horizon line, we will draw the bottom side of the cube by drawing a lines from the bottom tips of the
9
Erase unneeded lines and darken up your cubes if you wish. You now know how to utilize two point perspective. These methods are needed to draw the Freedom Tower.
10
Freedom Tower has a very unique construction to it. It is not your standard 4 walls and a roof type building. The building technically has 8 sides to it and we are actually going to need 4 vanishing points along our horizon line to draw it. First dra
11
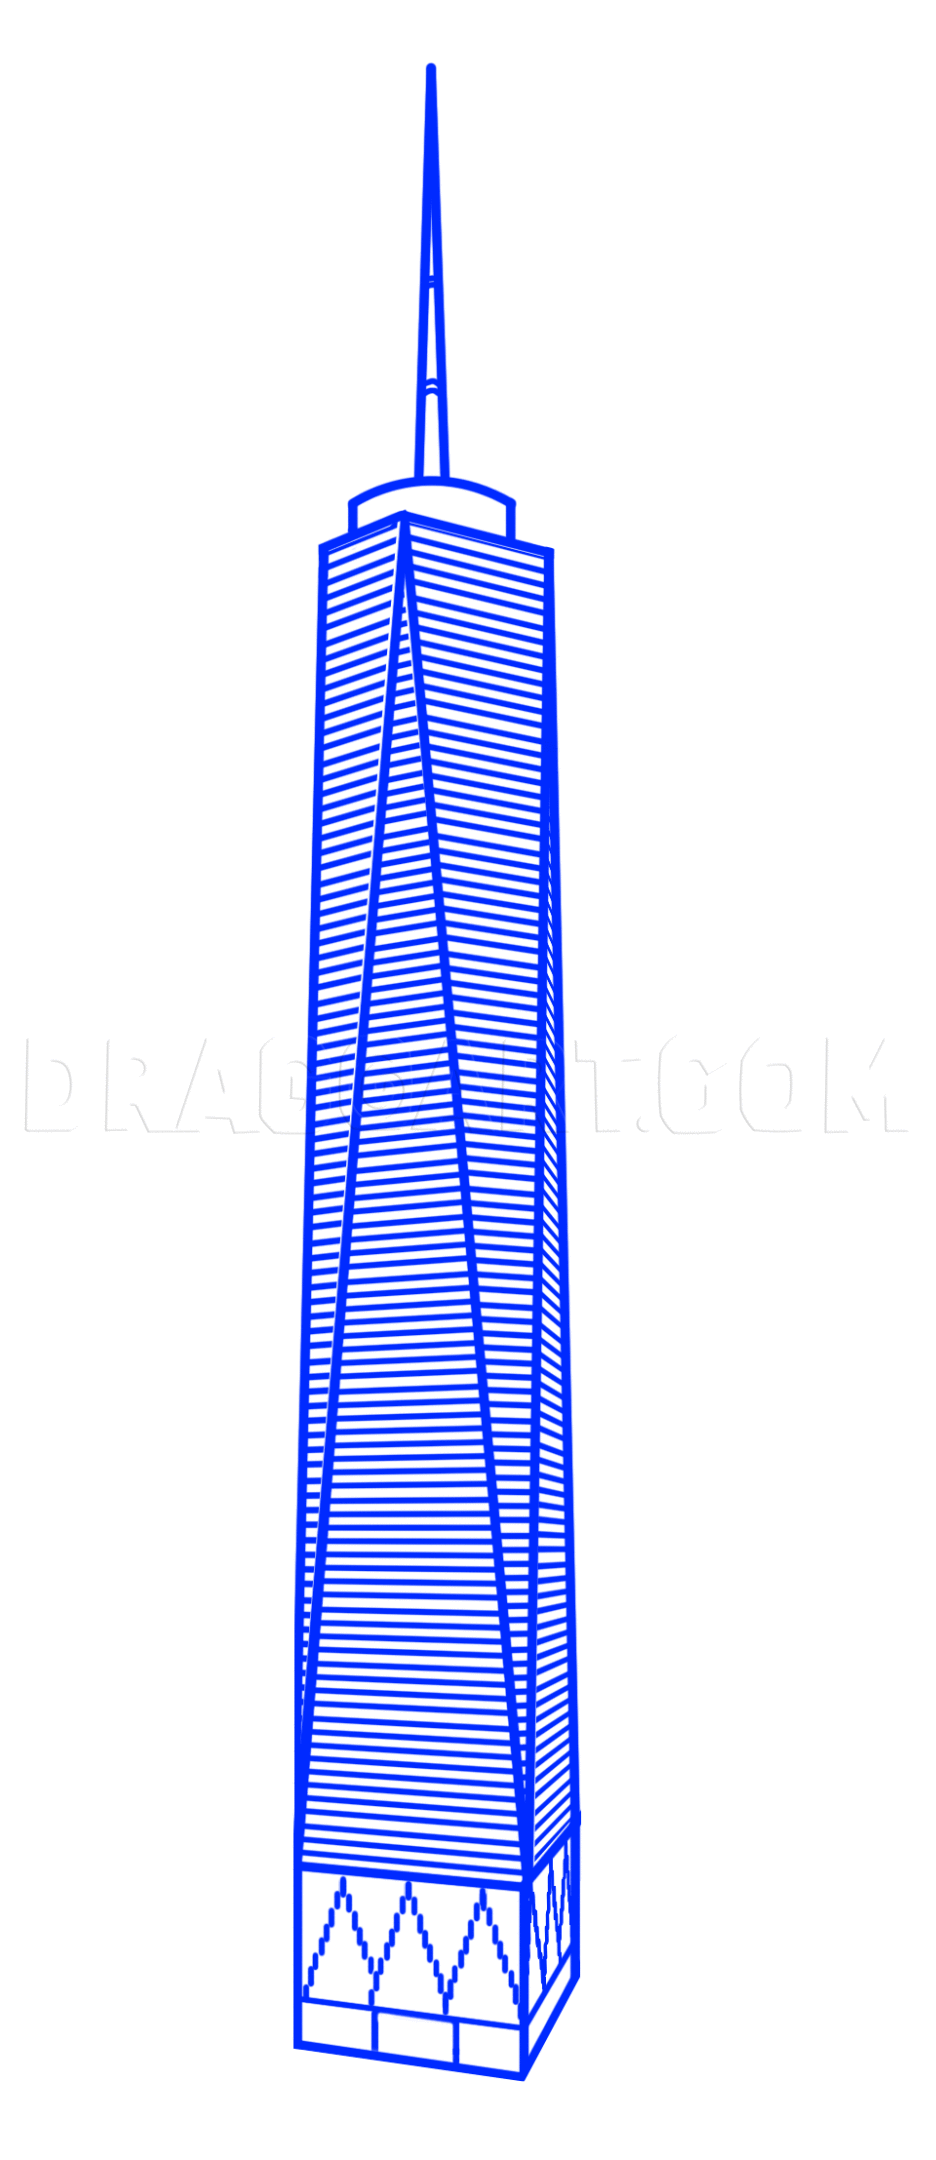
Start with the base of the tower. Draw the front and right side of a cube below your horizon line. The lines should recede back to vanishing points #1 and #3.
12
Draw detail in the base of the tower, such as the square entrance at the front and the triangular patterns on both walls.
13
Now that the base of the tower is finished, let's start working our way up. Lightly draw a guide line through the middle of the front of the base, all the way up to the top of the page (as seen here with a green line). Then draw a tall triangle shape
14
From the tip of the triangle, draw diagonal lines receding to vanishing points #2 and #4 as see here. Close off the tower shape on either side by drawing vertical lines that start on either side of the entrance side of the base and go up to meet the
15
Draw the final edge of the tower on the right side. It is a vertical line that should connect the top right corner of the base of the tower with the top right corner we just made at the top of the tower in step 14. We now have the shape of the tower
16
Draw the antenna and circular antenna base at the top of the tower. The antenna is like a large needle shape - wide at the bottom, and sharp at the tip.
17
Not let's work on the windows. From this distance, not every window is visible. Instead, we can only see the different levels of the building. Draw a vertical line from the front edge of the towers base, up through the top of the tower (green line).
18
It's a good idea to erase the unneeded lines from the previous step so that you can see what you're doing when you draw the remaining levels in the next step. Notice how the levels here are only on the front side of the building, and the very right s
19
Just like we did in step 17, draw the levels on the other two sections of the building. You should be using vanishing points #2 and #4 this time.
20
You can erase the unneeded level lines at this time if you wish, or you can wait and do it after you ink. You can see here which two sides of the building should have the newest level lines.
21
Now is a good time to ink the image. Using a ruler and Micron markers, or Copic Multiliners. Be patient and be careful not to accidentally ink any unneeded guide lines. After you have finished inking, erase your pencil marks with a kneaded eraser.
22
You can add more depth to the image by giving it shadow. Establish your light source and black out the opposite side of the building as well as the shadow cast on the ground.
Comments 0
Details
May 18, 2013
Description: A step by step demonstration on how to draw the new Freedom Tower at World Trade Plaza in a comic book style. Includes steps on perspective.


