1
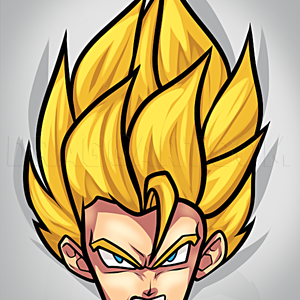
First, we'll sketch the basic guidelines needed to create the overall face shape. I like to begin with circles all the time, since they're the easiest shape to quickly sketch.
2
Then, we'll move onward to the facial shape, as well as the perked up ears. Take your time, and remember the forehead bubbles out more than the cheeks/chin.
3
Next, sketch the bangs of the hair, slowly working outwards to the large fluffs of hair at the corners. Lastly, sketch the brows.
4
Then, slowly work from the left eye to the right, making sure each is evened with one another correctly. The nose should peak at the slightest corner of the left eye. This will make the face appear upwards. Lastly, sketch the mouth.
5
Next, work the outer shape of the neck, creating an encirclement of the collar. Once that is done, finish off by sketch the shoulders.
Comments 0
Details
May 1, 2012
Description: Hey guys, Dawn here with another fun and colorful lesson on "how to draw Satsuki From My Neighbor Totoro", step by step. Take your time and get your drawing materials ready to start sketching the process of Satsuki. I've never seen all the best Studio Ghibli movies, but I'll be checking them out as soon as I can! Anyways, this took me a while to complete, having inspiration for the background design as well. I wanted to get the painting style from the actual movie and include it with Satsuki. Hopefully, y'all like this tut, let me know what you think of it, how easy it was, and if you drew it! Have fun.


