1
Before starting work on a subway train, you must first poses an understanding of one point perspective (if you already have a good grasp of how to use perspective to draw buildings, you can skip ahead to step 5). Let's start with creating basic cube
2
Next, draw a few squares floating in various places on the page, but not too close the vanishing point.
3
Draw lines from the vanishing point to the closest corners of each square (red lines). Then close off your cubes by drawing the back line of the cubes (green line), but be sure to stay within the red lines leading to the vanishing point.
4
Erase your unneeded guidelines leading back to the vanishing point and darken the lines of the cubes. You now have a cube created in one point perspective. This method is what's needed to draw things such as buildings, cars, and in this case a subway
5
Let's start by laying down our horizon line, which should be through the center of the page, followed by the vanishing point, which should be near the left side of our horizon line for this demonstration. Remember to draw lightly.
6
Now, we should sketch in the basic shape of the train as a guide for the following steps. The front of the train is going to be a wedge shape, so draw two curved lines near the right hand side of your page. Establish the top and bottom of the train,
7
Now that our guide lines are in place, let's get to work on the front of the train. Using the wedge shaped guide we created as a reference, draw the front of the train with slightly rounded edges. It should have a large, over-sized window so that the
8
Add more detail to the front by adding headlight on either side, housed in metal panels. Take a moment to also draw a small lookout window on the side of the cab. Be sure that the top and bottom lines of the window recede back to the vanishing point.
9
Next, draw the underside of the train. In this case, it can be a wide "T" shape. Keep an eye on the vanishing point when drawing the side. Add a few panels to the front.
10
We should now draw the passenger cars. Using the guide lines we created in step 6, draw the roof and base of the cars, which will recede back to the vanishing point. The cars should be rounded near the top, so draw a thin line near the top to help re
11
To draw the doors and windows, first draw a center guide line down the middle of the train (middle green line), which will serve as the bottom edge of the windows. Then draw another guide line near the bottom of the cars and a third near the tops of
12
Now that the train is sketched out, let's start working on the surroundings. First, we should lay down the tracks. Using your vanishing point, draw two metal rails beneath either side of the train. Maybe sure that the rails have a top, and a side (im
13
Now we can start drawing the platform and the train station. Because of our angle, the edge of the platform should come right up to the edge of the train or nearest rail. Draw a few strips of trim on the platform and some cement squares.
14
Since this is a subway station, the train needs to be emerging from a tunnel. Draw the back wall of the station so that it covers up the end of the train cars. Be sure to draw a few lines above the train to indicate the location of the ceiling.
15
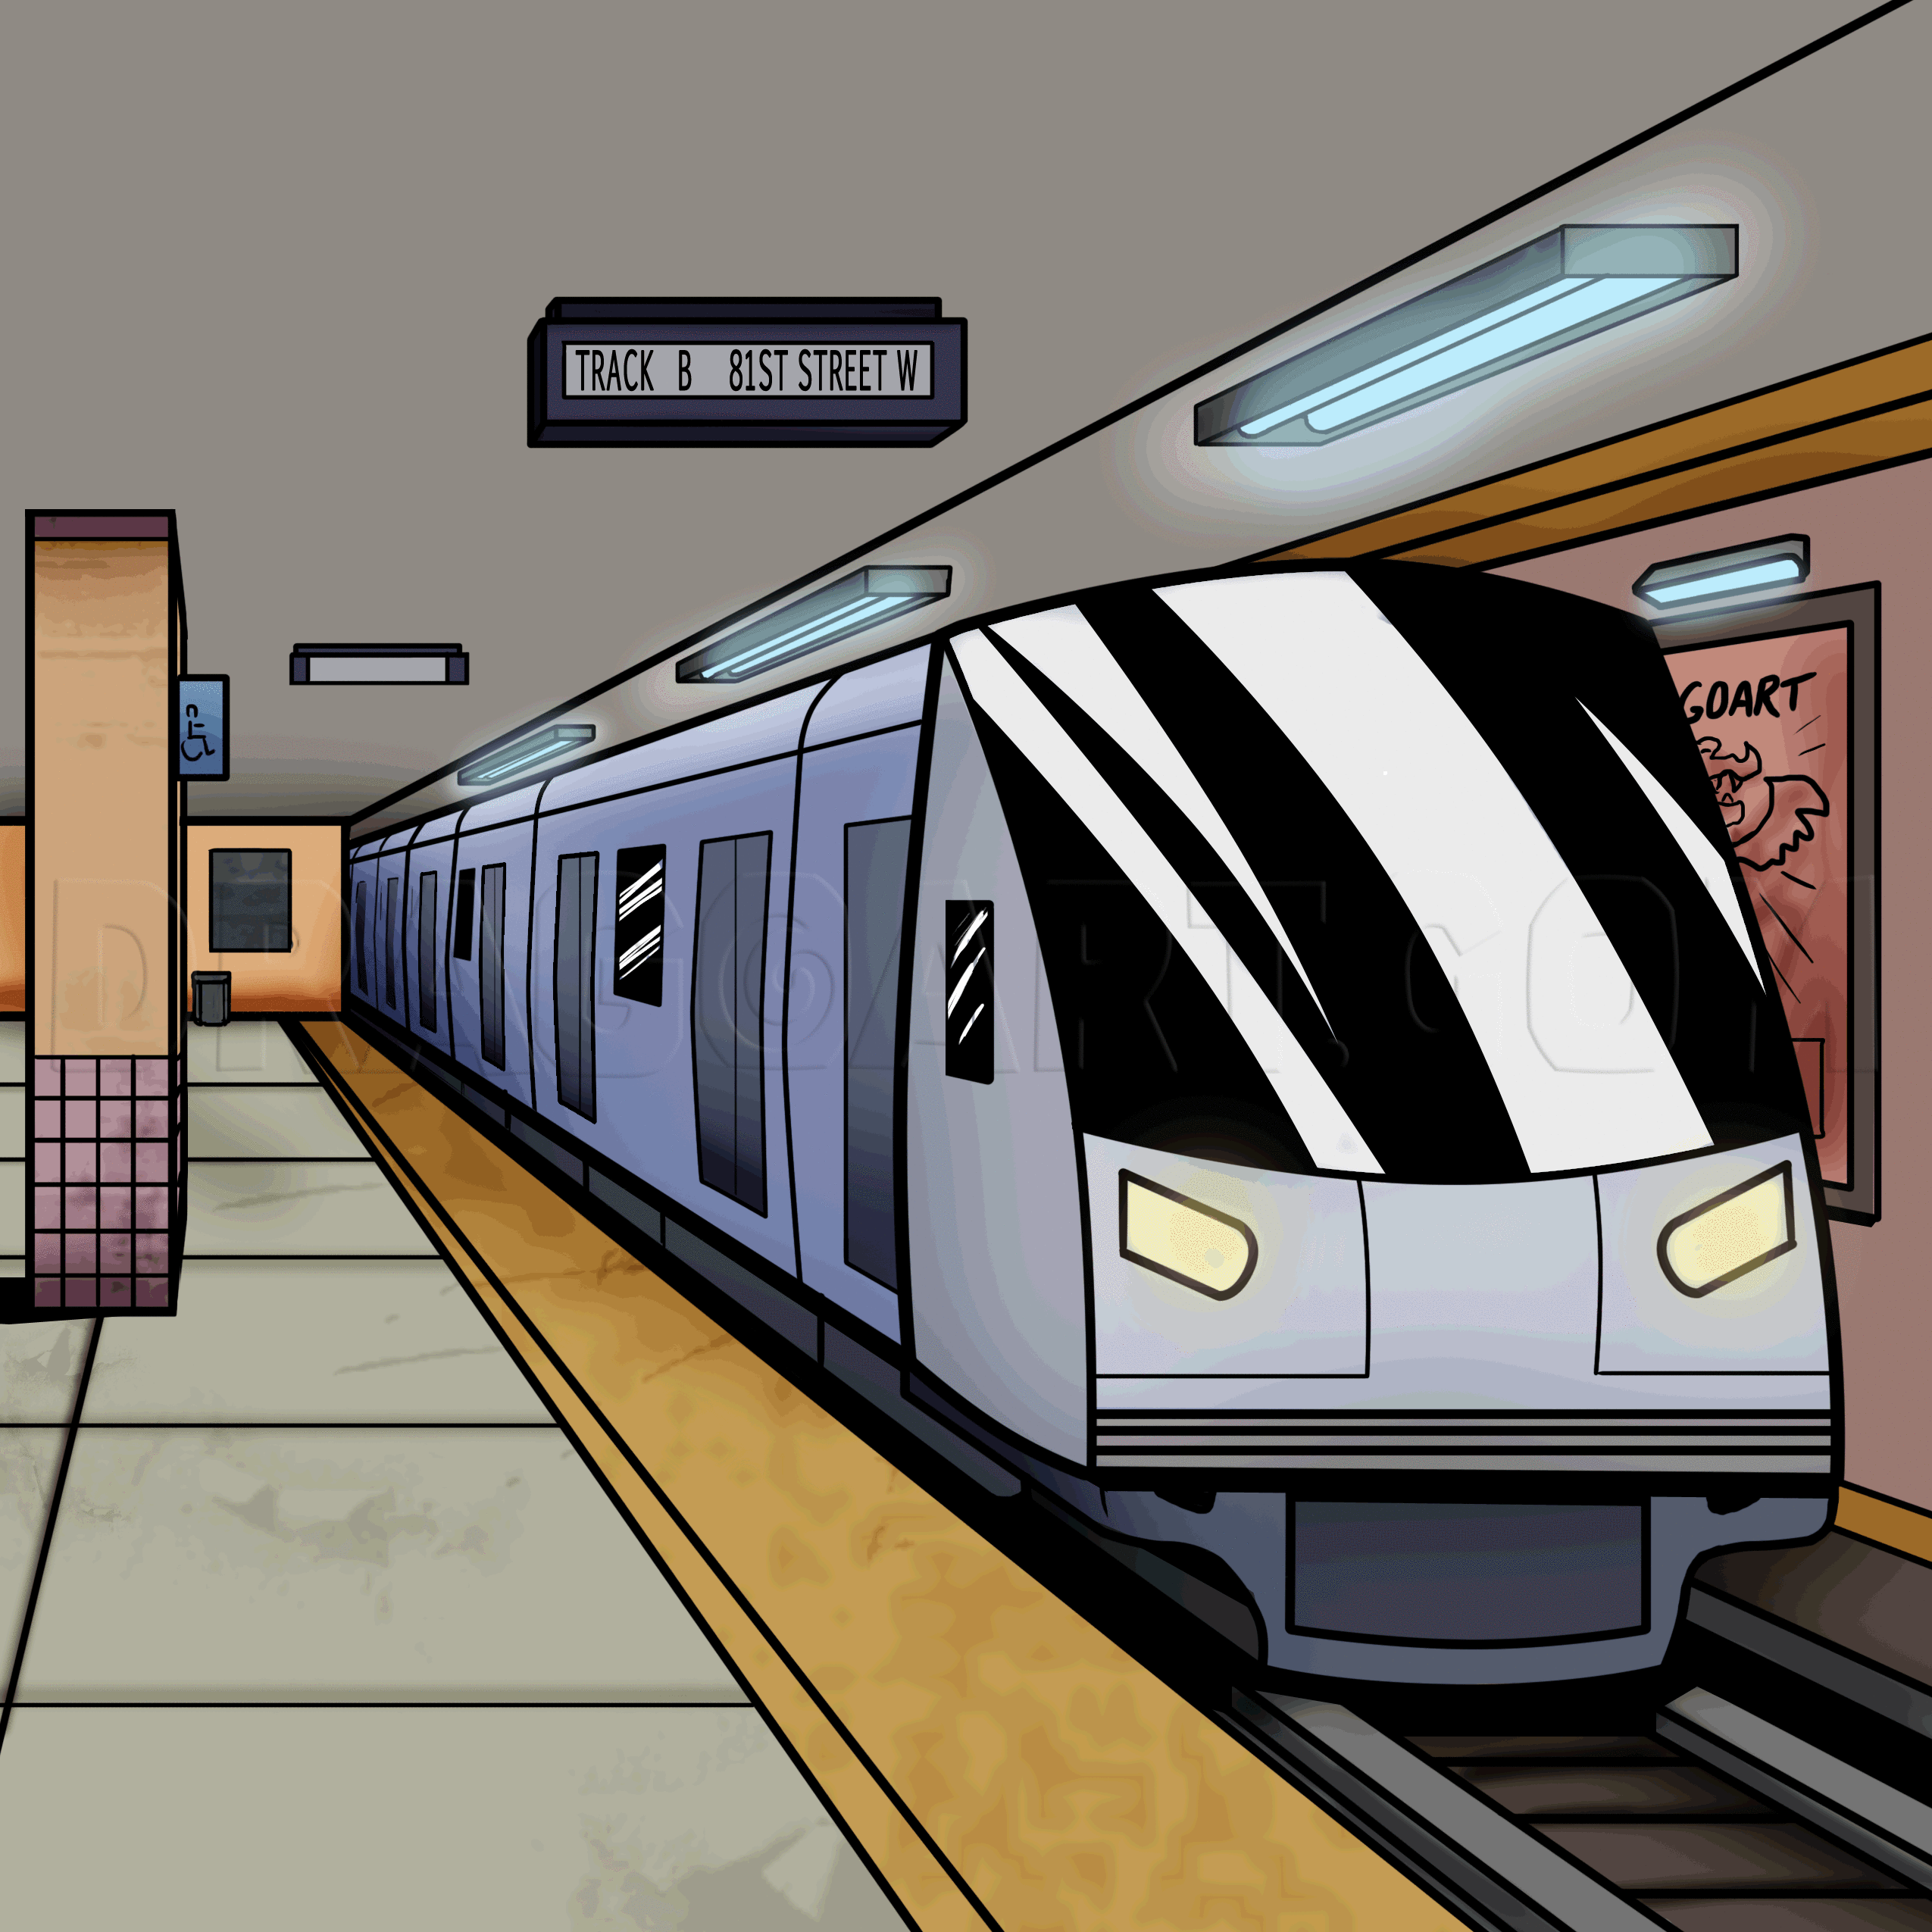
Personalize the station by adding in additional details as you see fit. In this case I added a column, some signs hanging from the ceiling, posters on the walls, and florescent lights. Other things that can be added are people, benches, pieces of tra
16
This is a good time to ink the image using a ruler and Micron markers. Be patient and make sure not to accidentally ink over any unneeded guide lines. After you're done inking, erase your pencil marks with a kneaded eraser.
17
It might be a good idea to add some shadow to the image, to give the train more depth. Notice how the shadow beneath the train wraps around the rails, rather than there being a straight edge of shadow cutting across them. You may also want to black o
Comments 0
Details
March 15, 2013
Description: A step by step guide on drawing a subway train in a comic book style.


