1
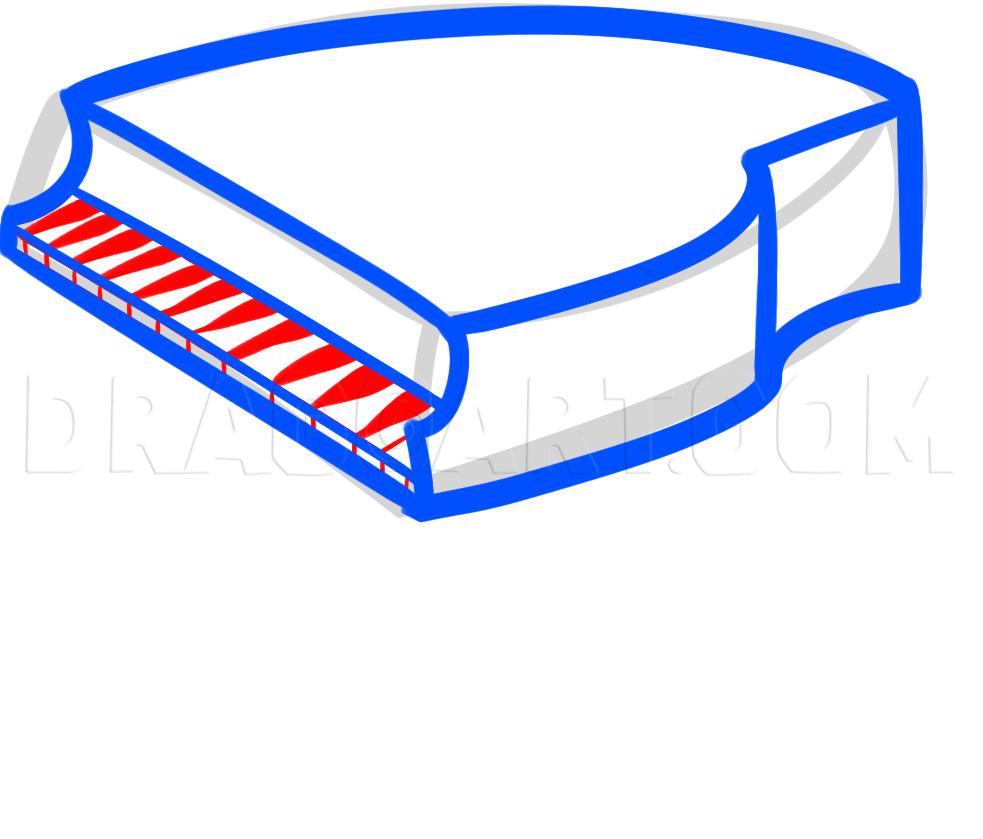
Let's get started shall we? Begin by making the shape of a hockey puck with a straight side. Add dimension like so, then proceed to step two.
2
In this step you will actually draw the shape of the piano's design which looks similar to a badge.
3
You will now draw the lining to form the front part of the piano which is home to the piano keys and cover. Sketch out the detailing lines to form the dimensional siding like so.
4
The next thing we will do is draw in the piano keys followed by the black keys that lay on top and between the other keys.
5
This is your last drawing so make sure to do it right or else you will have a lopsided piano. Draw in the legs, then add the definition to the wood which is the pointed corners. Erase the mistakes then you are finished.
Comments 0
Details
November 26, 2012
Description: I know it's something you want to draw everyday, but I thought when you do want to tackle a lesson on how to draw a piano, you're going to want the tutorial to be as easy as possible. So here is my version of drawing a piano but in a 'for kids' style. I figured the only way to make a piano easy to recreate was to make it in a coloring book style. I like the way it came out which means you might too. I don't know what else to say except, have fun, learn something new, and show off your work. I shall return with more drawing fun for you all. Adios mi amigos.


